In this Shopify launch checklist, we share the key steps you need to take before launching a brand new Shopify store.
When setting up a new Shopify store, excitement can get the better of you. After all, hitting the go-live button on a store is the first step on a new business journey that you probably can’t wait to get started on.
However, before putting your store live, it’s best to take a deep breath, take stock of where you are, and check that everything’s working properly.
That’s where a Shopify launch checklist comes in.
Below you’ll find the series of steps that we go through whenever we launch a new Shopify store for a client. By following them, you can maximize the chances of stress-free, successful go-live process.
The first thing to do involves adding a custom domain to your store.
Tip: we suggest bookmarking this Shopify store launch checklist, so that you can refer to it easily as you go through the process of putting your store live.
1. Connect a custom domain
When you start a Shopify free trial, you are given a ‘myshopify.com’ URL for your store.
Technically, you can use this URL to launch it, but it’s much better to connect a custom domain to your store – yoursitename.com etc.
This is because a custom domain
- helps build brand recognition
- fosters trust in your store
- is easier for your customers to remember.
You can either buy a custom domain name from a registrar (Namecheap, Gandi etc.) or purchase one directly from Shopify. You’ll find details on how to add a custom domain to a Shopify store using either method here.

It’s important to note that once you’ve connected a custom domain to your store, it’s not yet time to put it live — you need to go through the rest of the checklist first!
And speaking of which…
2. Check that your product data has been entered accurately
In a lot of cases, the bulk of the work involved with setting up a Shopify store involves data entry for products — especially where stores with large inventories are concerned.
And it’s vital that this data has been entered correctly — or things can go wrong, quickly.
If your products contain inaccurate descriptions or photos, you can end up dealing with disappointed customers, refunds and returns.
If the shipping rules or tax rates that you’ve applied to your products are incorrect, you can end up out of pocket or wasting a lot of time fixing administrative errors.
(In the worst-case scenario, you may face fines from tax authorities for not applying tax correctly).
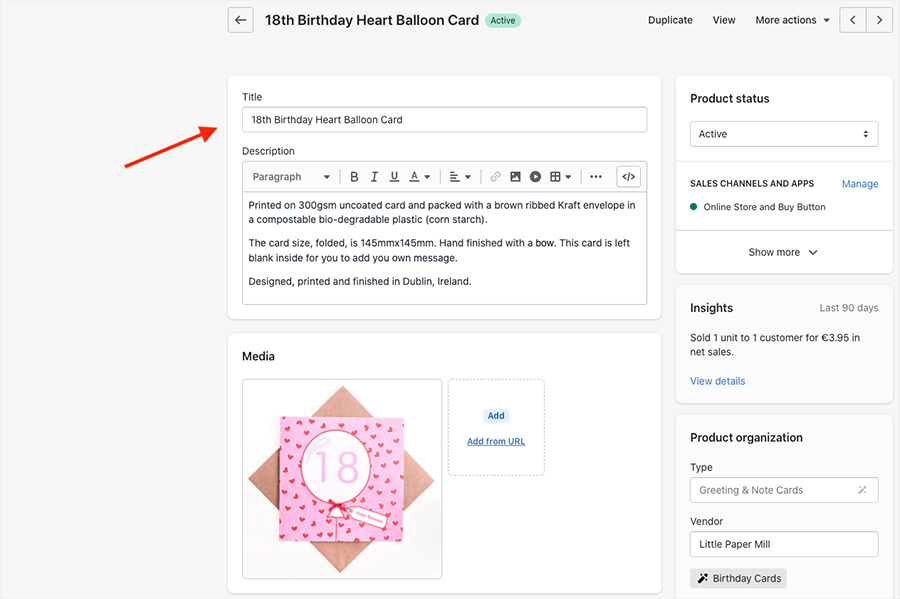
So, before going live, go through each of your product pages and ensure that all the information associated with each one is correct — copy, product images, pricing, tax and shipping settings, the works!
3. Check your copy and visuals carefully
Grammatical errors, spelling mistakes and factual inaccuracies can all significantly erode trust in your store and product range.
So, make sure that you proof-read all your site content carefully and eliminate any errors you spot. If possible, it’s best to get somebody else to do this, as a fresh pair of eyes can often identify problems more easily.
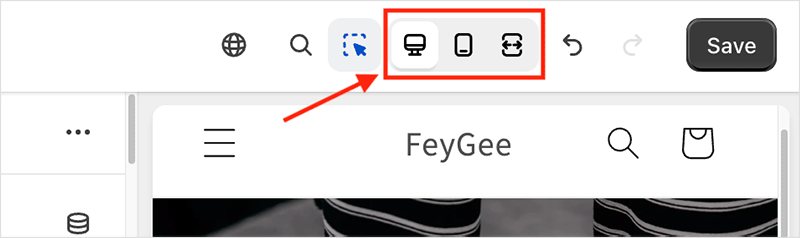
Similarly, poor visuals can damage trust in a website — so make sure that you test your Shopify store theme across all devices to ensure that it’s behaving as expected and displaying correctly on mobile, tablet and desktop devices. You might also want to give some thought to web accessibility too, to ensure that any users with a visual impairment can access your store’s content without difficulty.
4. Test hyperlinks
Broken links on your store can lead to a lot of user frustration, and they aren’t great from an SEO perspective either.
So, test links on your new store carefully, ensuring that each one brings users to the expected page. Note that you should do this both before you go live and after doing so (to ensure that any internal links not only work using your ‘myshopify’ address but also your custom domain address too)
Tip: link crawling tools like Screaming Frog can help automate or speed up this process.
5. Check that payments are being accepted
There’s no point in building an online store that can’t accept payments properly!
So, it’s absolutely vital to ensure that the checkout process in your Shopify store is working 100% as expected.
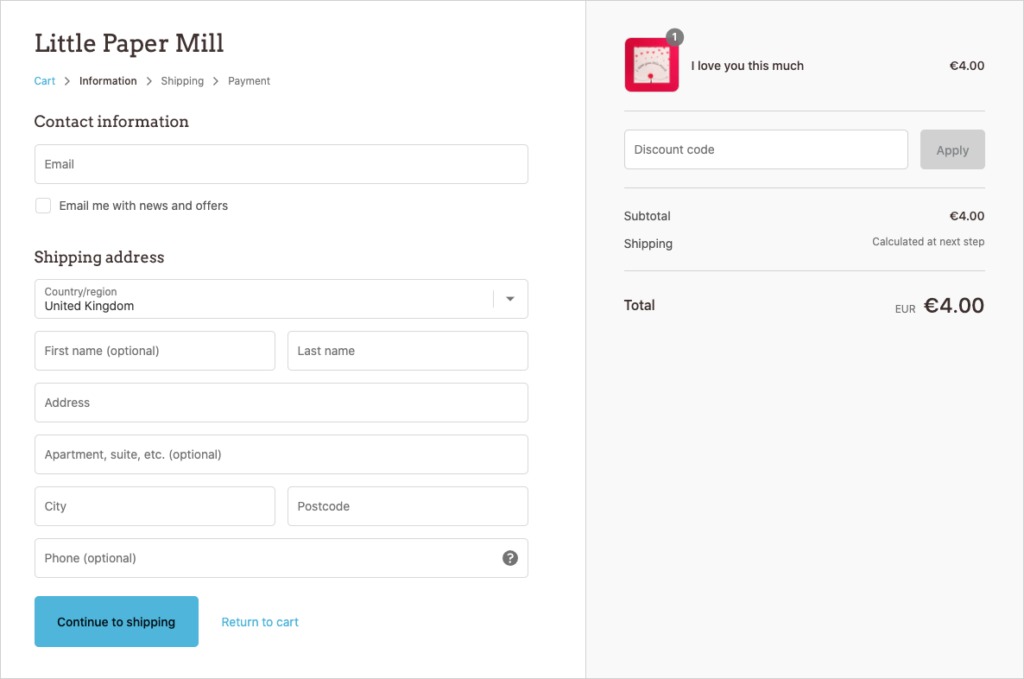
This typically means testing it to see if:
- credit card payments are being accepted without difficulty
- discount codes can be used
- shipping costs and tax rates are being applied correctly to orders
- multi-currency features are working correctly and able to facilitate international sales in your store.
Tip: if you are using Shopify Payments as your payment gateway, you can use its ‘test mode’ to check that credit card transactions are working.
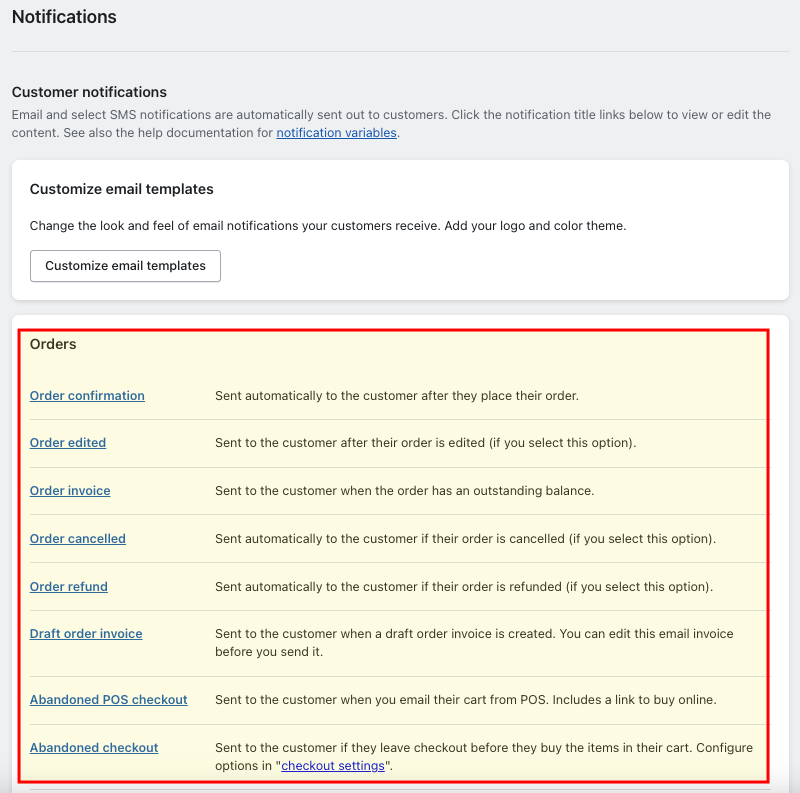
6. Ensure that email notifications are being sent and received okay
Good communication with your customers is an essential part of running an ecommerce store. So,
- check that you have customized your email notifications so that all the information they contain is accurate
- check that they are being sent and received okay.
Don’t forget that you’re not just dealing with order notifications here — you may need to customize and test other email communications from your store, including shipping confirmation, shipping update and refund notifications.
You can access and edit all the email notifications for your Shopify store by going to Settings > Notifications in your Shopify dashboard.
7. Ensure your shipping rates are correct
Getting shipping rates wrong can prove to be an expensive mistake, so it’s important to:
- set them up so that they take full account of package size, weight, delivery location etc.
- check that the expected shipping rate is being applied correctly at checkout.
You can check that shipping rates are being applied correctly by going part-way through a transaction on your store using an address in each of the countries / regions that you have set up shipping rates for.
Don’t miss out on our free Business Growth E-Kit
For a limited time only, we’re offering our readers some excellent free tools to help them grow their business. Sign up free to immediately receive:
- downloadable cheatsheets on how to grow an online business
- an exclusive discount code for email marketing app GetResponse
- a 30-day free trial of Canva Pro
- extended free trials of essential growth-hacking apps
- ongoing free tips and advice on digital marketing
We respect your privacy, and you can unsubscribe any time. View privacy notice.
8. Check that your tax rates are correct
If you’re applying taxes to your products’ prices — either using a manual or automatic tax configuration — you should check that Shopify is applying them all correctly.
You can learn more about configuring and checking taxes here.
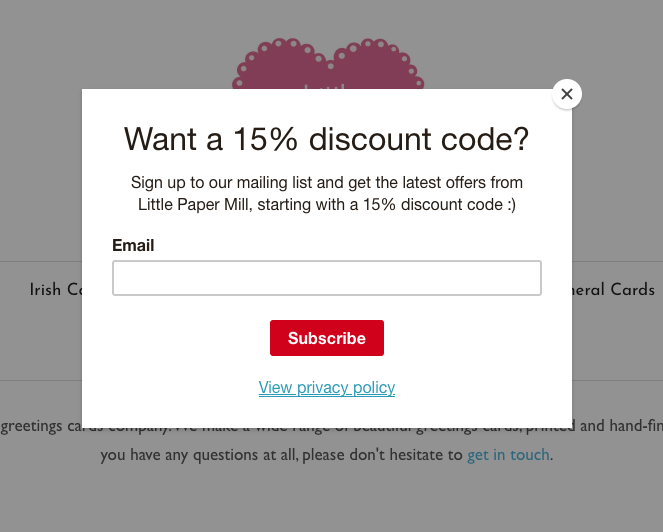
9. Test all your forms
Once your store is live, you can expect to receive customer enquiries periodically. Accordingly, it’s vital to ensure that any forms you’ve created to let your site visitors contact you are sending information to the right place.
So be sure to test all the contact forms on your store, and make sure that you’re receiving their contents okay.
You should also check that any mailing list forms that you’ve created are working correctly. The contents should be being sent to the email marketing app that you’re using in conjunction with your Shopify store (Mailchimp, GetResponse, AWeber, Shopify Email etc.).
10. Ensure you have the correct legal notices in place
Running an online store brings with it quite a few legal obligations, which in turn require you to include quite a few store policies / data protection features on your site.
These typically include:
- Website terms and conditions of use
- Privacy policy
- Cookies notice
- GDPR or CCPA compliant cookie banner
- Refund policy
Check the laws in the jurisdiction you’re operating in, and ensure you have ticked off all the necessary legal requirements before putting your Shopify store live.
It’s also important to check that you have an easily accessible (and functioning) contact page available, so that potential customers can get in touch with you easily regarding any product queries or concerns.
11. Install an analytics tool
Although Shopify gives you some built in reporting features, it’s best to augment these with a dedicated analytics tool.
Google Analytics is typically the product that most store owners turn to, but there is an increasing number of other options for merchants to consider too (we particularly like the GDPR-friendly Fathom Analytics).
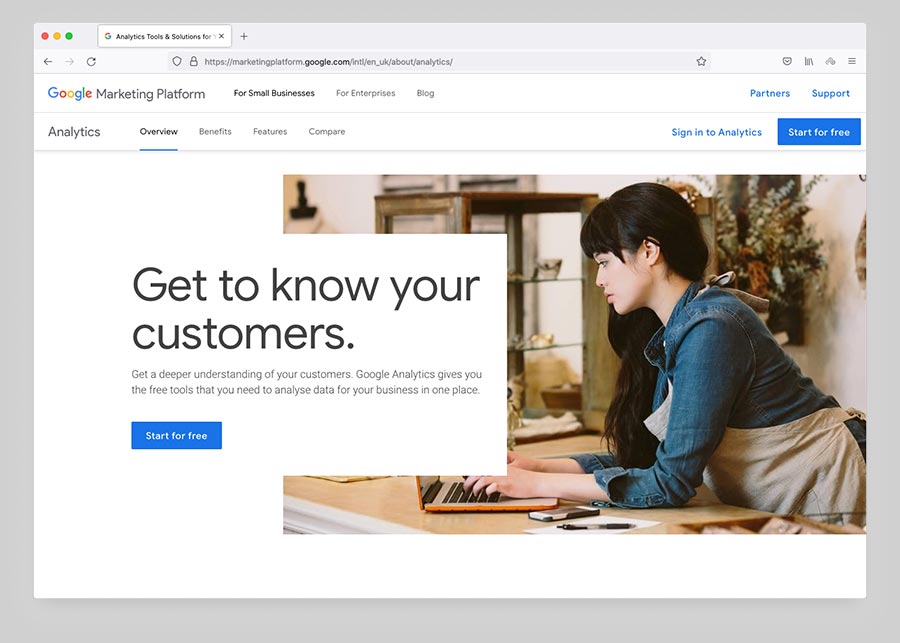
Once you’ve installed your analytics tool, check that it’s reporting correctly and set up any ecommerce goals you might need for your store.
12. Remove any Shopify apps that you don’t need
It’s normal when building a Shopify store to try out a bunch of apps. But before going live, remove any that you’re not using — make sure that only the essential apps remain installed.

This will speed up your store’s loading time, which in turn can lead to a better user experience and better performance in search results (Google and other search engines typically give preferential treatment to fast-loading websites).
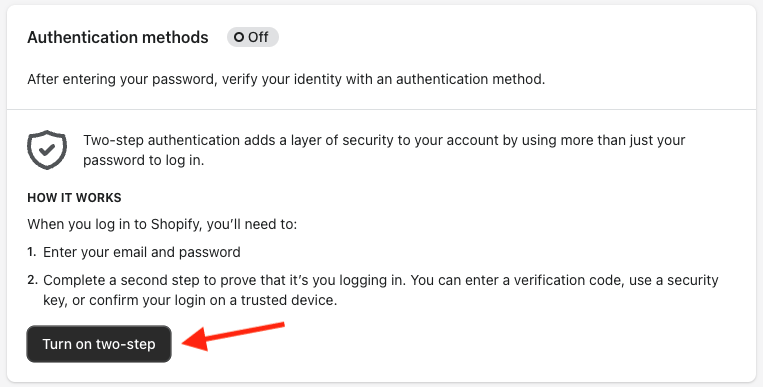
13. Enable two-factor authentication
Before launching your store, make sure you have enabled two-factor authentication in Shopify.
Two-factor authentication – also known as two-step authentication or multi-factor authentication – provides a more secure login process that requires you to enter not just a password when logging into your store but another piece of information too (for example, a one-time use code that is provided by an authentication app, or a security key).
This makes your Shopify store much harder to hack — and can keep you on the right side of data protection laws too.
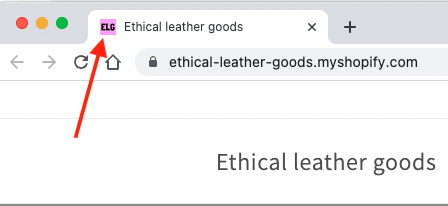
14. Add a favicon
It is incredibly easy to forget to add a favicon to a new website — but it’s surprisingly important to do so.
Favicons are the little square icons you see next to page titles and/or web addresses, and they end up being displayed in quite a few useful places, including:
- browser tabs
- in bookmark bars
- search results (to the left of a page title)
Despite their diminutive nature, they can reinforce your brand in lots of contexts, and make your content pop out in search!
Accordingly, it’s always best to make sure your site has a favicon, and you can learn how to add one to your Shopify store here.
15. Optimize your store for search engines
Finally, it’s important to look at your store from an SEO (search engine optimization) point of view: you need to make sure that you are using the right keywords in the right way, and that your site is loading as quickly as possible.
There are quite a few steps involved with this, so for advice on this, I’d recommend that you take a good look at our full Shopify SEO checklist or our guide to making your site more visible. The below video guide to Shopify SEO is also well worth a watch.
Ahrefs vs Semrush | Free SEO Toolkit | Subscribe on YouTube
16. Create a marketing plan
“If you fail to plan, you plan to fail,” the old saying goes – and there’s still a lot of truth in it.
So, before launching your Shopify store, it’s best to have a marketing strategy in place that spells out how you’re going to spread the word about your new venture.
Ideally, you need a pre-launch marketing plan that covers:
- social media
- content marketing / blogging
- online advertising
- SEO
- additional sales channels (you can sell not just on your own ecommerce website, but on Facebook / Twitter /Amazon / Etsy etc. too)
17. Remove password protection
Once you’ve reached this point, it’s finally time to launch your store! Congratulations 🙂
This is done by removing the password protection that is by default enabled on all Shopify stores (when you’re building a Shopify store, visitors to it have to enter a password to see it).
Simply go to Online Store > Preferences and scroll down to the ‘password protection’ section to disable it.
And that’s that! You’re live.
Best of luck with launching your store, and if you have any suggestions for additional tasks that you think are important as part of a Shopify launch checklist, do feel free to add them in the comments section below.
18. Get customer feedback
When your Shopify store is live, you might be tempted to think that everything’s done and dusted. Wrong! Successful Shopify stores place a huge emphasis on fantastic user experiences and product ranges, so it’s really important to keep up with your competition, and continuously improve your store from both a UX and product offering point of view.
So, after go-live, ensure that you continuously collect customer feedback on your store and its products; and consider doing user testing periodically to refine your buying experience. Use this research to improve your store.
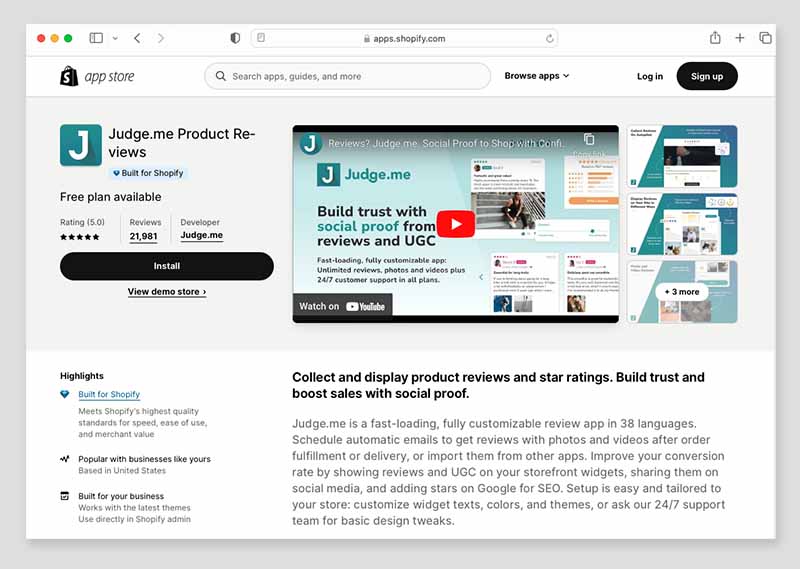
There are various apps that you can install to gain user reviews on your products or feedback on your store — the most popular being the ‘Judge.me Product Reviews‘ app— but it’s a good idea to collate some in-person feedback too.
Other Shopify and ecommerce resources from Style Factory
We hope you’ve found this Shopify checklist for going live helpful. Good luck with your efforts to generate sales! You may also find some of our other Shopify resources useful:
- Shopify SEO checklist
- How to start a Shopify store
- How to change a Shopify store name
- How to Add Google Analytics to Shopify
- How to make an online store
- How to establish the real cost of a Shopify website
- How to Sell Music on Shopify
- Shopify Print on Demand
- Shopify review
- Shopify Pricing and Fees (2024) — Which Shopify Plan is Best?
- Shopify vs Etsy — Which is Better for Selling Online?
- Things to Sell on Shopify: 30 Profitable Ideas
- 25 Shopify Side Hustle Ideas
- Shopify resources hub
No comments