In this post, I’m going to show you how to make a logo on Canva. I’ll walk you through the process step-by-step and by the end of this guide, you’ll have all the knowledge you need to create a professional logo for your business or brand.
There are two ways to use this resource — you can either watch the video version below, or scroll down for a detailed, step-by-step guide to creating a logo on Canva.
Canva Pro 30-day trial information | Subscribe on YouTube
1. Set up your brand kit
Before you start creating your logo, it’s a good idea to make sure that any typefaces you need for it are available in Canva, and that you can access any brand identity colors easily. To do this, you need to set up a brand kit (if you’ve already done this, proceed to Step 2!).
Note: brand kits are only available in the premium version of Canva — if you don’t have access to this, you can find out how to get a 30-day trial of it here.
To access brand kits in Canva, just log in and click the ‘Brand’ option on the left. This gives you access to Canva’s ‘Brand Kit’ tool.
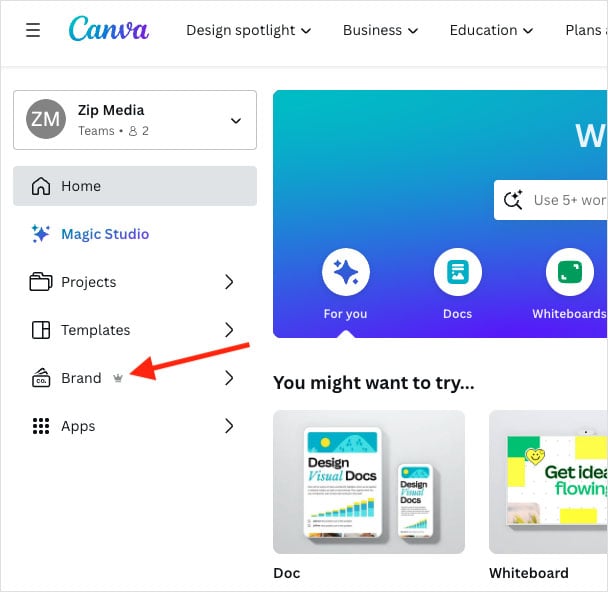
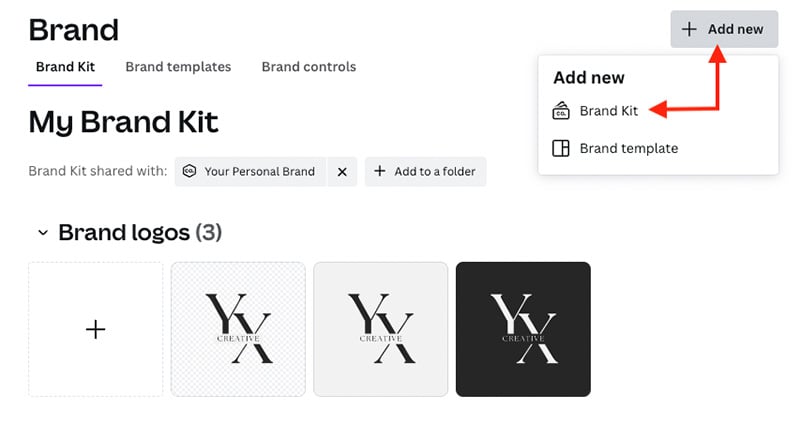
You’ll then see some options for uploading brand assets.
Click the ‘Add new’ option at the top-right hand corner of the screen, and then choose ‘Brand Kit’ from the dropdown menu to start creating your kit. You’ll be prompted to give it a name, and then you’ll be able to start defining brand colors and typefaces.
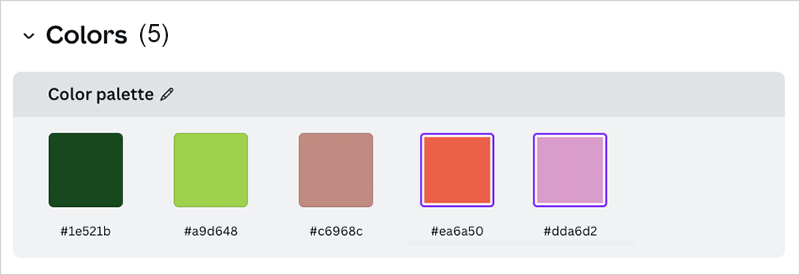
Add any brand colors that you need by clicking on the plus symbol in the ‘Colors’ section (you may need to have the hex codes or CMYK details handy to do this; alternatively, you can use a color picker).
Then, add any brand fonts using the ‘upload a font’ button provided.
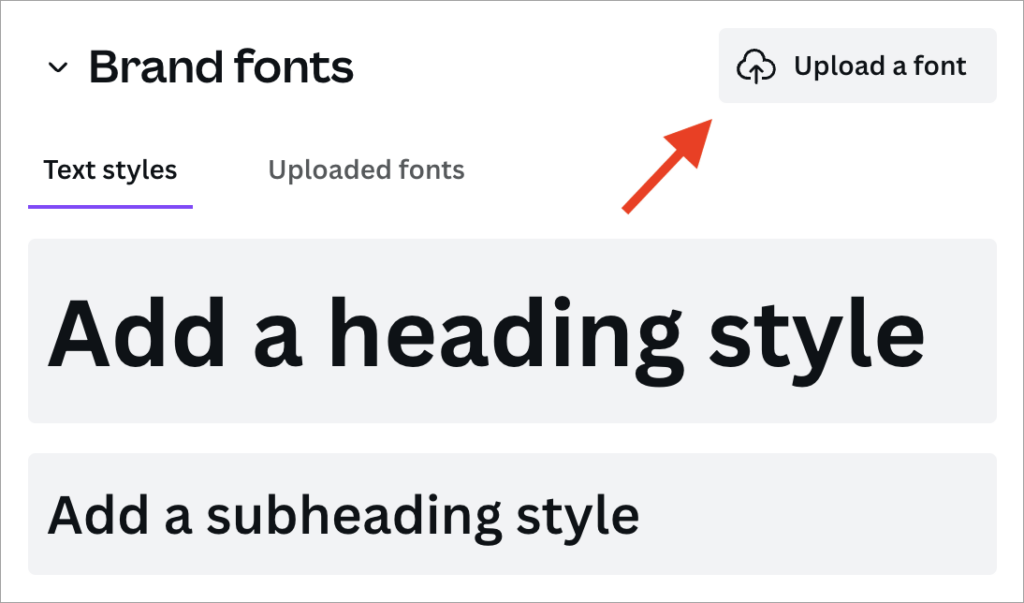
You’ll now be able to use these colors and fonts easily when creating your logo.
If you have other brand assets such as photos, graphics or brand icons, you follow a similar process to add these to your Canva brand kit.
2. Open the Canva design tool
To start creating your logo, you need to click the ‘Create a design’ button at the top right-hand corner of the Canva interface.
Then, click the ‘Logo’ option.
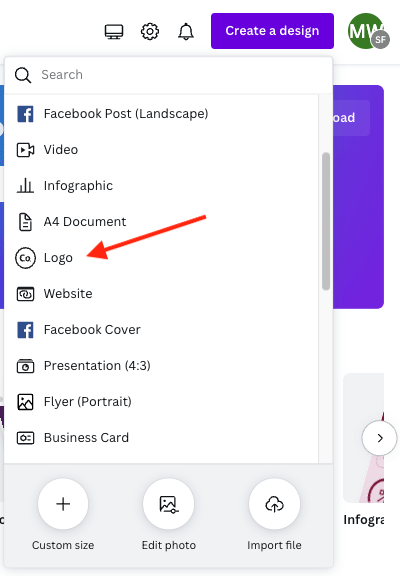
This will bring you to a screen where you can access logo templates on the left, and edit designs on the right.
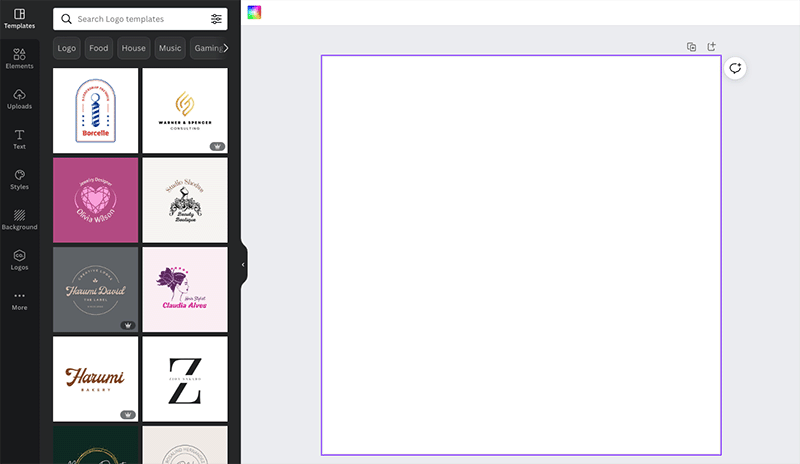
3. Pick a logo template as your starting point
The next thing you need to do is pick a logo template as the starting point for your design. The best way to do this is to use Canva’s search function.
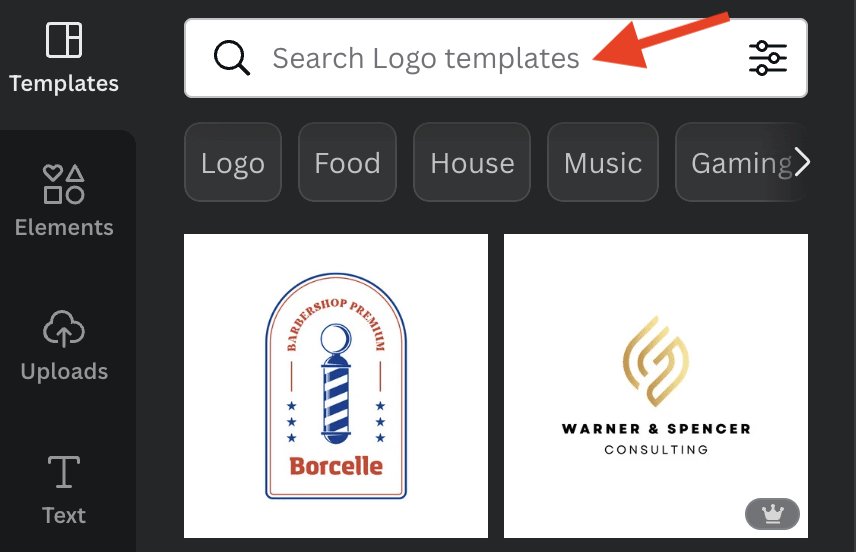
So for example, if I was designing a logo for a coffee shop, I might enter the word ‘coffee cup’ into the search box.
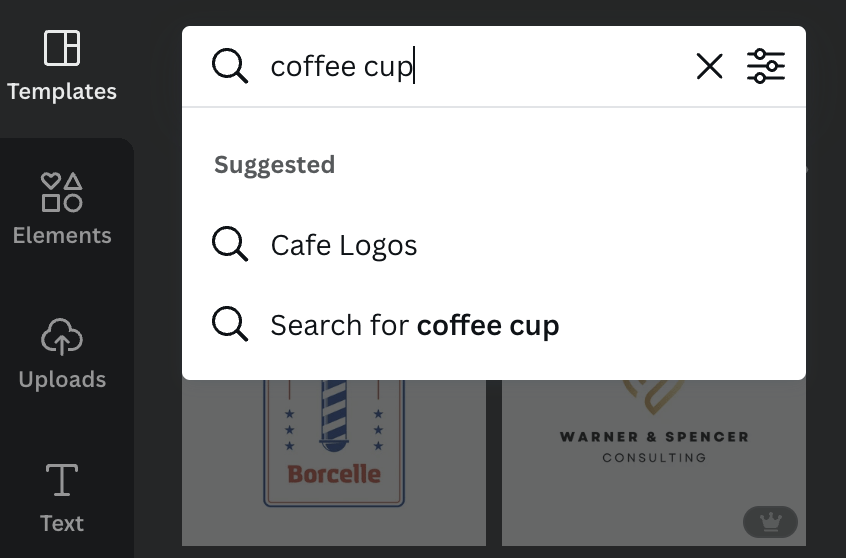
This will then return a series of templates, and depending on the search phrase used there may be quite a lot of these to go through — because there are no less than 80,000+ logo templates available in Canva! Browse the templates and pick the one you’d like to use as the starting point for your logo.
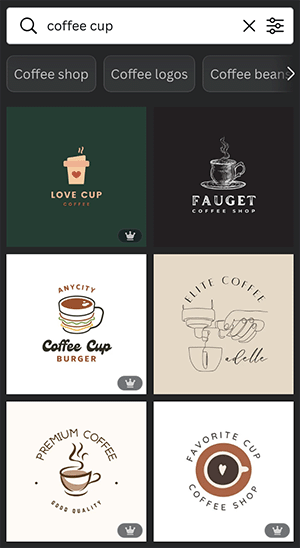
Note: some of the logo templates come in several different variations (for example, light and dark versions).
You can either decide to create multiple versions of your logo based on these variations – by clicking the ‘Apply all pages’ option — or just work on one logo design (by clicking on your preferred version).
4. Edit your logo
Once you’ve selected a logo template, the design will appear in the right hand side of the Canva design interface.
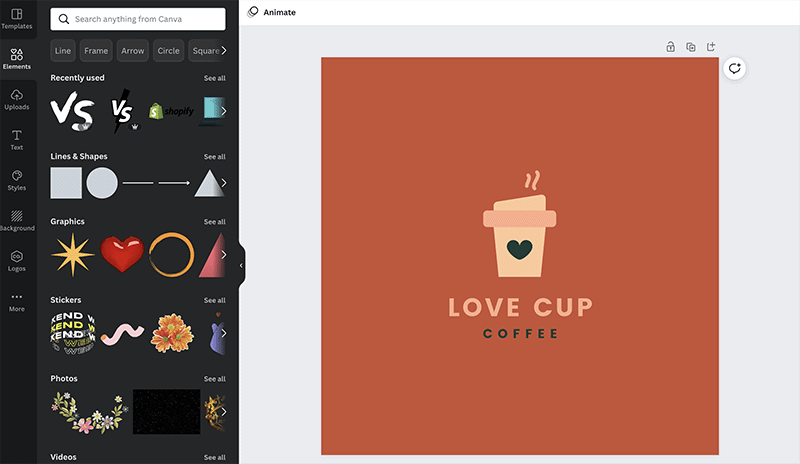
Now, it’s time to turn this template into your own, custom logo.
To do this, there are four things you may want to change:
- Your logo’s text
- Your logo’s typefaces
- Your logo’s colors
- Your logo’s graphics
Let’s look at each in turn.
Changing or adding logo text
Changing your logo’s text is very easy. You can either edit existing copy on the logo, or add entirely new text.
To edit existing text, just click on the word or words you’d like to change.

Then, replace this copy with your preferred text (usually your own brand or company name).
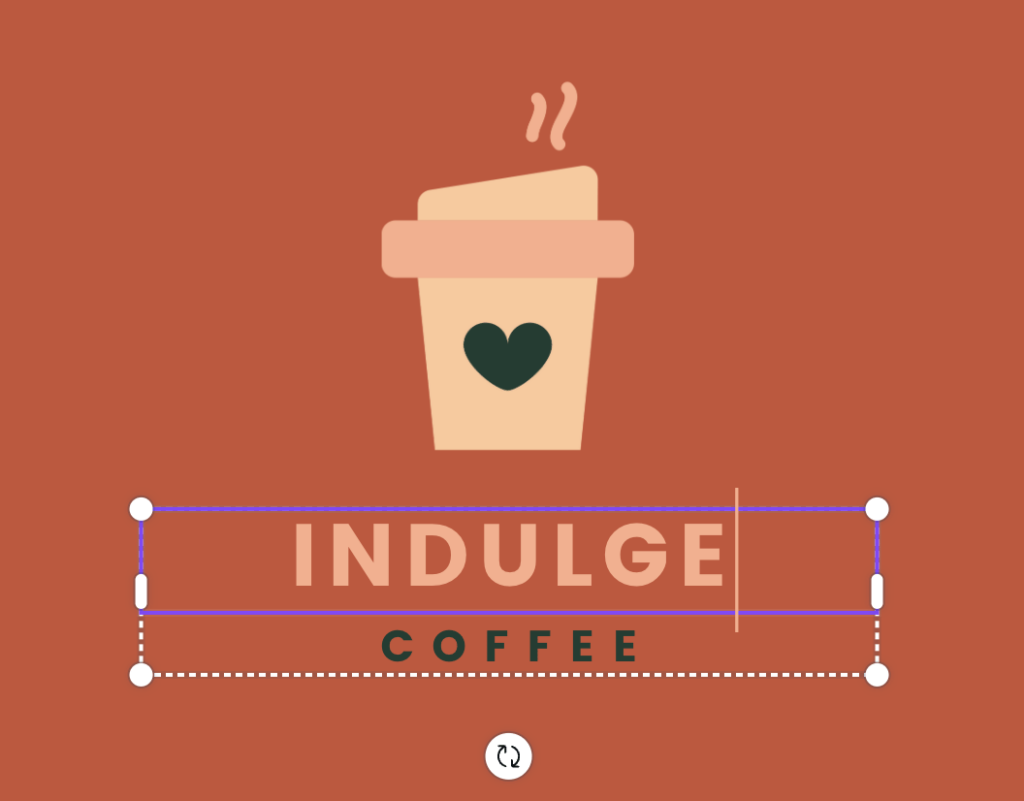
To add entirely new text, you need to click the ‘Text’ option on the left hand side of the screen.
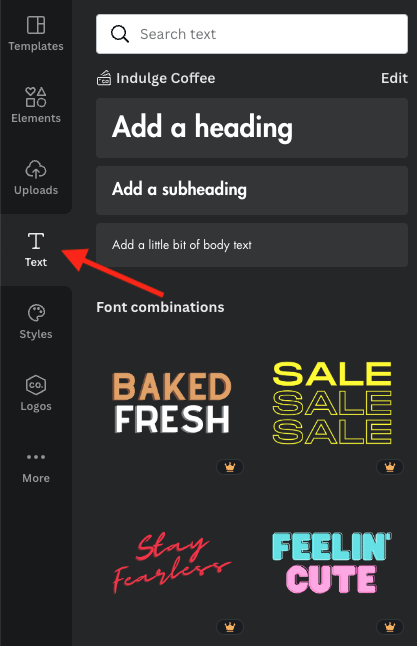
From there, you can either choose to add text in your own brand fonts (using the ‘add a heading,’ ‘add a subheading’ or ‘add a little bit of body text’ options) or using the ‘font combinations’ provided.
(The latter are a selection of fonts that usually make use of special effects like shadows or cutouts).
Changing your logo’s typeface
Once you’ve added or edited your logo’s text, you can, if you like, change its typeface.
First, highlight the relevant text.
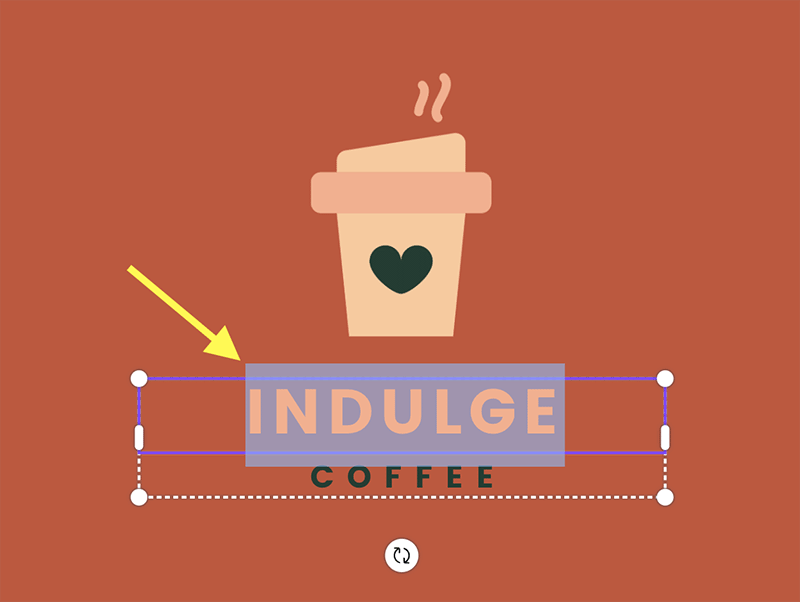
Then, click the font dropdown menu at the top of the Canva interface.

You’ll then see a (large!) list of typefaces that you can apply to your text. This will include the brand fonts you uploaded when creating your brand kit.
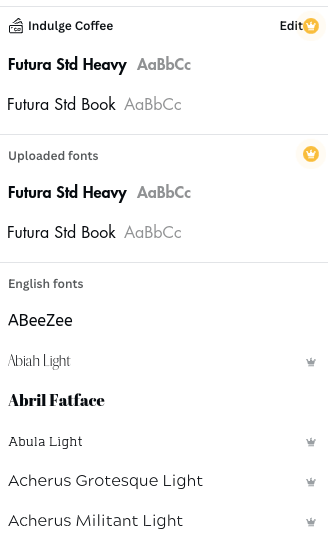
Just click on your preferred typeface and Canva will update your logo text with it.

If you like, you can also apply effects to your chosen text and its typeface. To do this, highlight the relevant text and click the ‘effects’ button in the menu bar at the top of the screen.

You’ll then see a range of effects that you can add to your text. Pick one you like and change its settings to suit your requirements.
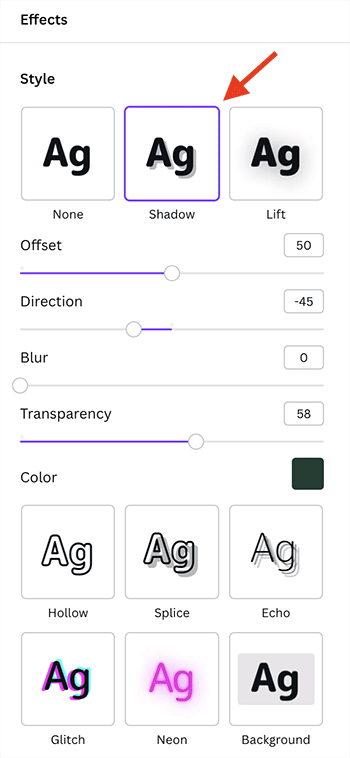
As you tweak the settings, you’ll see the impact of this on your logo in real time.

Tip: if you want to make additional changes to the appearance of your text, you should note that there’s a few more options for doing so in Canva – on its text menu bar you’ll find options to bold or italicize your copy, or change letter spacing and line height.
Once you’re happy with the text and typefaces of your logo, it’s time to adjust colors.
Changing logo element colors
To change the colors of a logo graphic, you simply click on it.
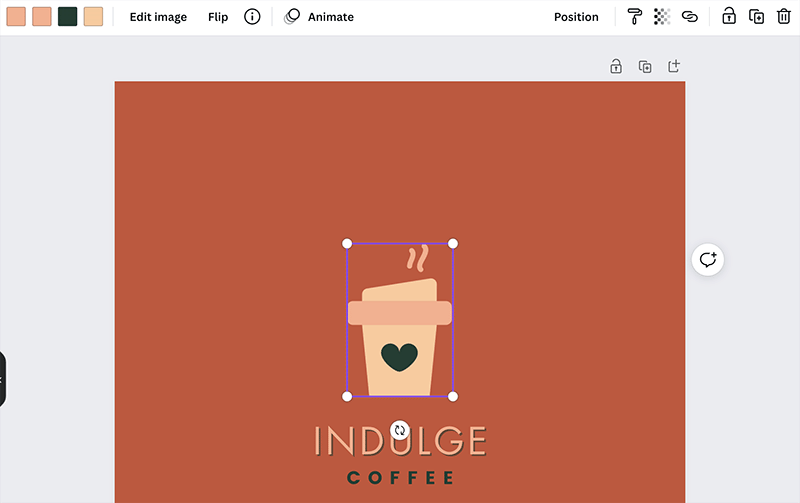
At the top right hand corner of the Canva interface, you’ll then see the colors this element contains — just click on the relevant color and change it to meet your requirements.

Note: some Canva logo elements, notably photograph-based ones, don’t let you change the color like this. If you can’t change the colors of your element, I’d suggest replacing it with a different graphic (more on how to do in a moment).
You can choose to apply document colors, your brand’s color palette or one of the ‘default’ Canva colors to your element. (If you need more choice here, you can enter color names or hex code into the search bar provided.)
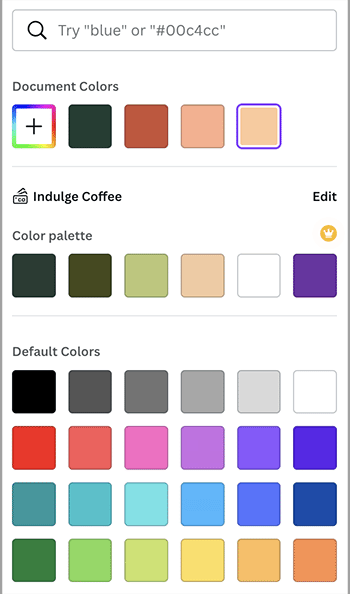
Once you’ve chosen your color, it will be applied to the relevant part of the graphic in Canva.

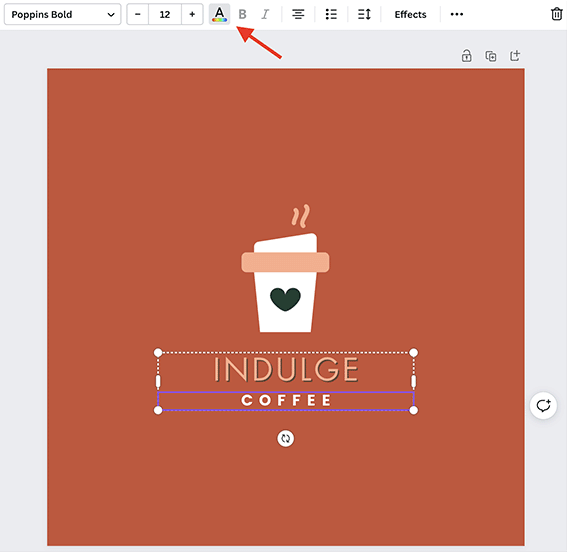
If you need to change the color of your text, this is very simple. Just click on your text, and use the color option in the text formatting bar provided to select a new color.
Changing a graphic element
At this point you might feel like experimenting with the main graphic element of your logo.
(In the example we’ve been using, that’s the coffee cup.)
However, it’s worth pointing out that if you like a particular logo template, it might well be because of the graphic elements that it already contains. So you may need to tread carefully here — it might be better not to change the main graphic element of your logo.
If you do want to change the element however, the first step is usually to remove the existing one. To do this, just click on the relevant item and press the backspace key.
Then, click on the elements section on the left hand side of the Canva interface.
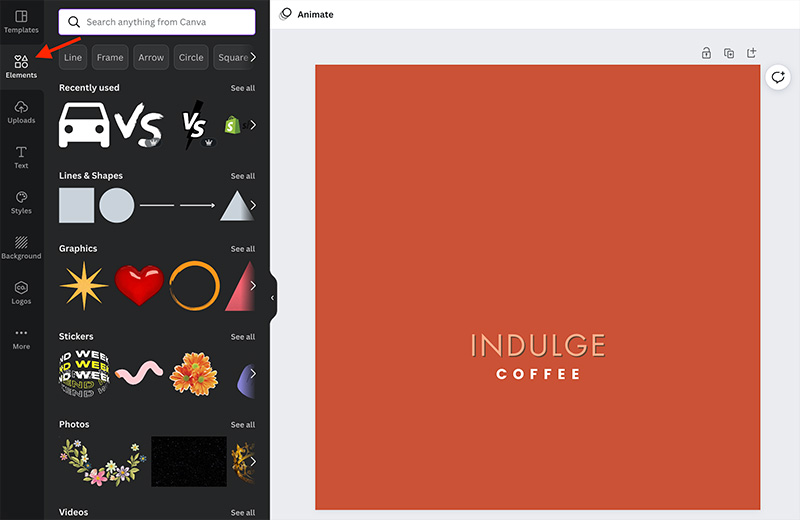
You’ll now have to search for a new element to add.
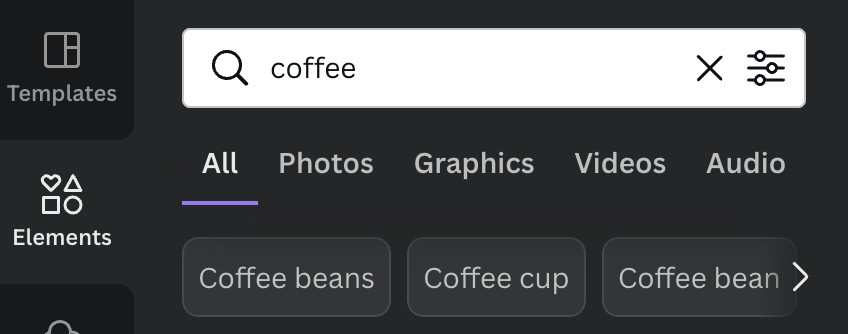
Note that you can choose between different media formats — photos, graphics, videos and audio.
For static logos, the choice essentially boils down to using photos or graphics — we generally recommend using graphics, as they tend to look better and are easier to manipulate than photos.
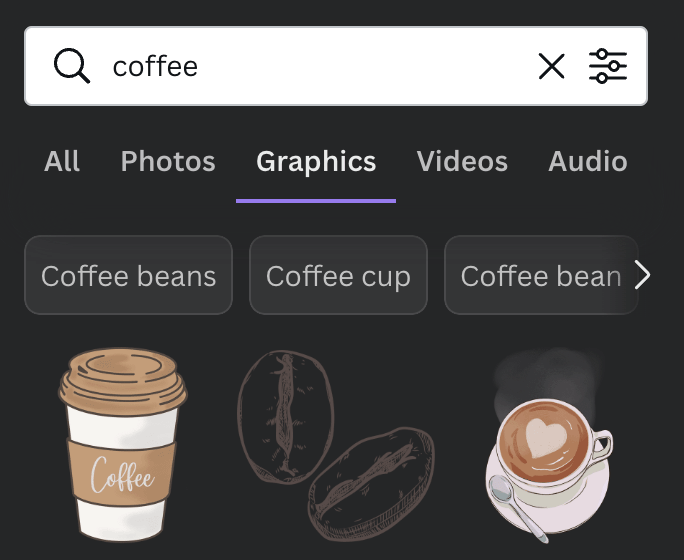
Simply pick a new element that you’re happy with, and drag it into position on your logo.

Once it’s there you can resize it, reposition it or change its color until you are happy with how it looks in context.
5. Export your logo
Once you’re satisfied with your logo design, it’s time to export it to a format that suits your needs.
To do this, simply go to the top-right hand corner of the screen and click the ‘Share’ button. This will give you access to a wide range of ways to share or export your content — these include download options; embed links so that you can share it digitally; and even the option to print it on t-shirts and other goods.
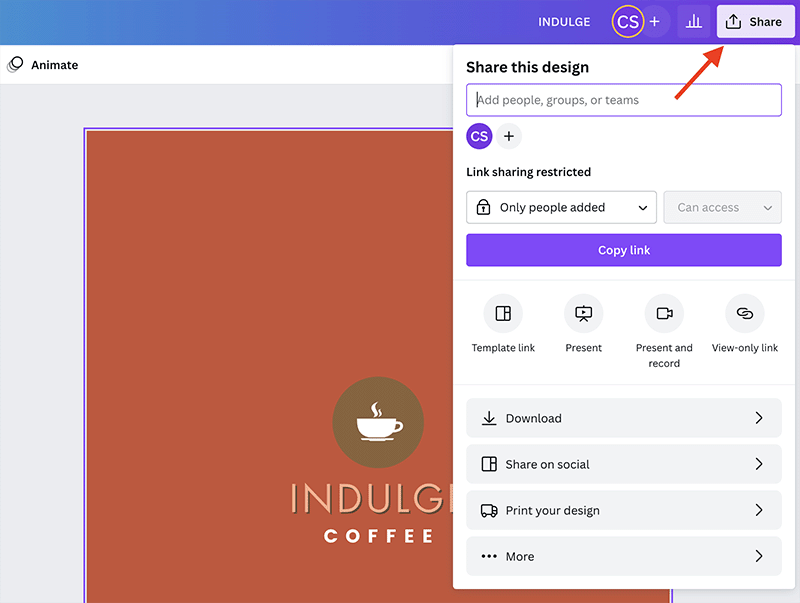
When it comes to logos, it’s probably fair to say that most Canva users need to download their design, so that they can add it to a website or insert it into a document.
To do this, just click the download option in the top right corner of the Canva interface, after which you’ll see the following file format options:
- JPG
- PNG
- PDF Standard
- PDF Print
- SVG
- MP4 Video
- GIF
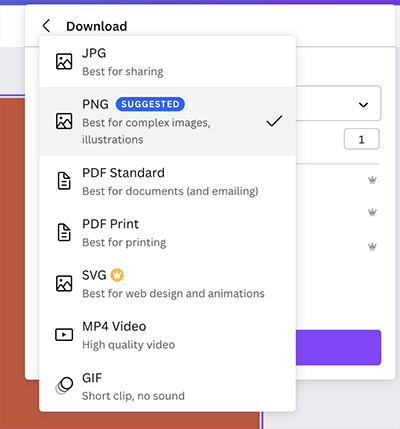
Which format is right for you will depend on how you intend to use your logo; Canva will make some suggestions on that front for you, but as a rule of thumb, PNG and SVG work tend to work best for digital applications, and PDF Print for print.
If you’re going to be supplying your logo to a graphic designer or printer, it’s best to get their take on what format works best for their purposes.
And that’s it! If you have any questions on how to make a logo on Canva, do leave them in the comments section below — we read them all and will do our best to help.
How to make your own logo on Canva — FAQ
Can I create a logo for free on Canva?
Yes — a free Canva account gives you the basic tools to create a logo. However, for best results and more download format options, you’ll need to use the paid-for version of the app, Canva Pro. You can learn how to get a 30-day trial of Canva here.
What formats does Canva let me export my logo in?
With Canva Pro, you can export your logo in JPG, PNG, PDF, SVG, MP4 Video and GIF formats.
Can I upload an existing business logo to Canva?
Yes — you just go to the ‘Brand Kit’ section of Canva and upload your existing logo there. It will then be accessible from the ‘logos’ tab in Canva, and you can drop it into any design from there.
How do I create a transparent PNG logo in Canva?
To create a transparent PNG logo in Canva, open your design and click the ‘Share’ button followed by ‘Download.’ Choose PNG format, check the ‘Transparent background’ box and click the ‘Download’ button.
What makes a good logo?
This is a hard question to answer, as there is so much subjectivity involved. However, a good rule of thumb when designing a logo is to keep your design minimalist — and to incorporate visuals that encapsulate the core offering of your business.
More Canva resources from Style Factory
- How to get a 30 day free trial of Canva
- How to draw with Canva
- How to Make Business Cards in Canva
- Canva review
- Canva Free vs Paid
- Canva pricing
- Canva versus Adobe Express
- Canva versus PowerPoint
- Canva versus Adobe Photoshop
- What is Canva? (Blog post)
- What is Canva? (YouTube video)
- Canva versus Visme
- Canva vs VistaCreate (formerly Crello)
- Canva for Education guide
- Canva for Nonprofits guide
- Canva resource hub
No comments